step3

SMARTRIPPER

USE THIS METHOD IF NONE OF THE OTHER TWO WORK

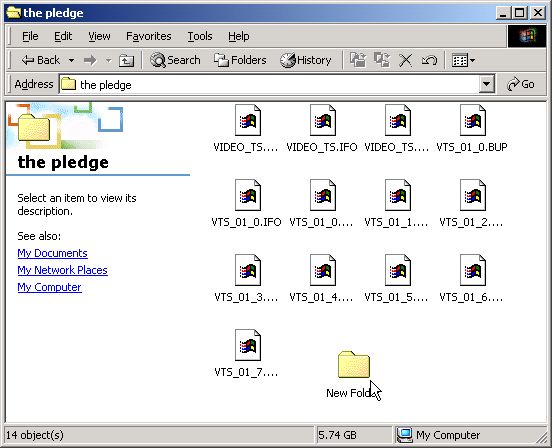
1) first make a folder on you hdd where you can put the streamed version seperate from the main vob's as in pic 1

sp1.jpg 

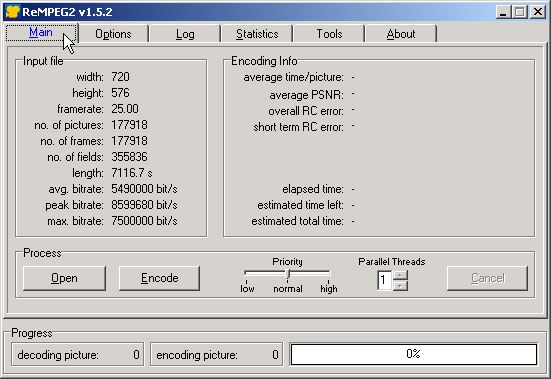
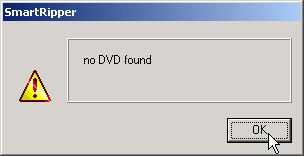
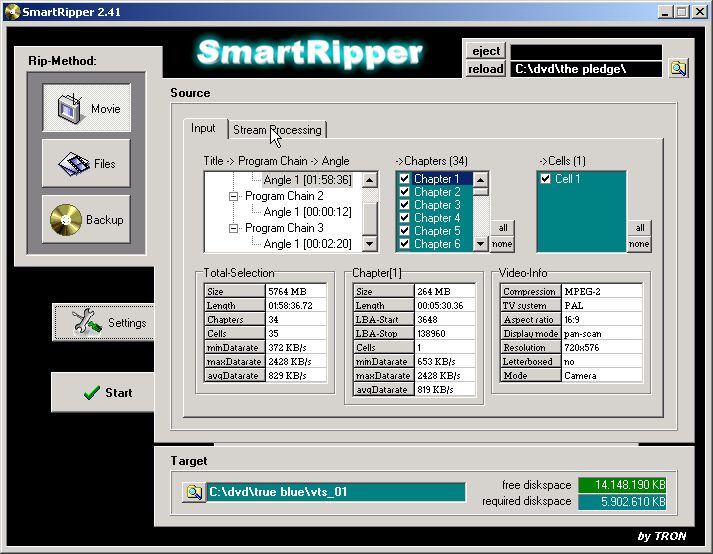
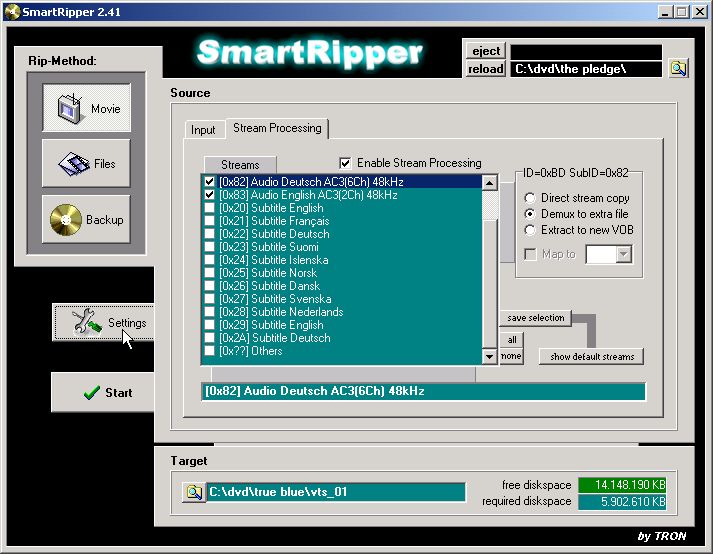
2) now start up smart ripper if you are ripping from the vob's on your hdd you will get pic 2 if from the dvd you will not

sp2.jpg 

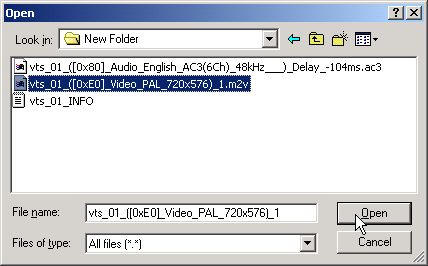
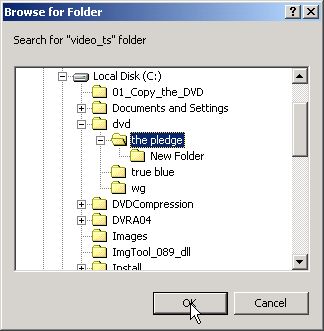
3) if from the hdd press reload and browse to the folder with the vob's in and click ok as in pic 3,4&5

sp3.jpg 

sp4.jpg 

sp5.jpg 

4) click the tab stream processing as in pic 5

sp7.jpg 

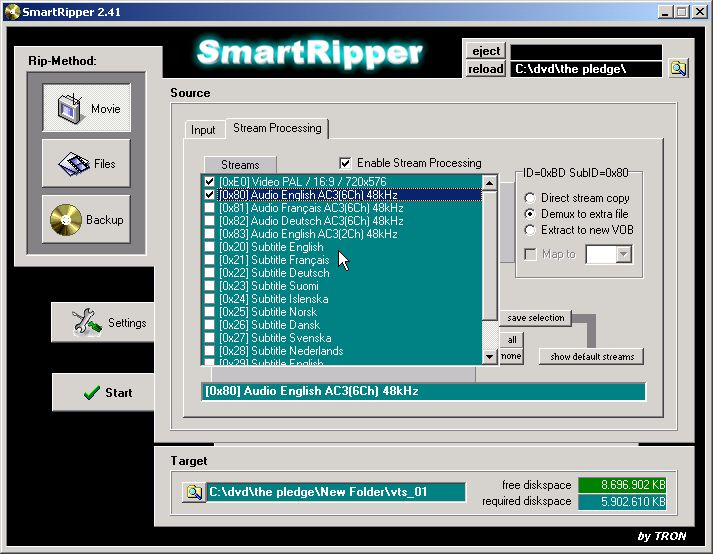
5) put a tick in stream processing as in pic 6

sp8.jpg 

6) take out the ticks from the ones you dont require as in pic 7

sp9.jpg 

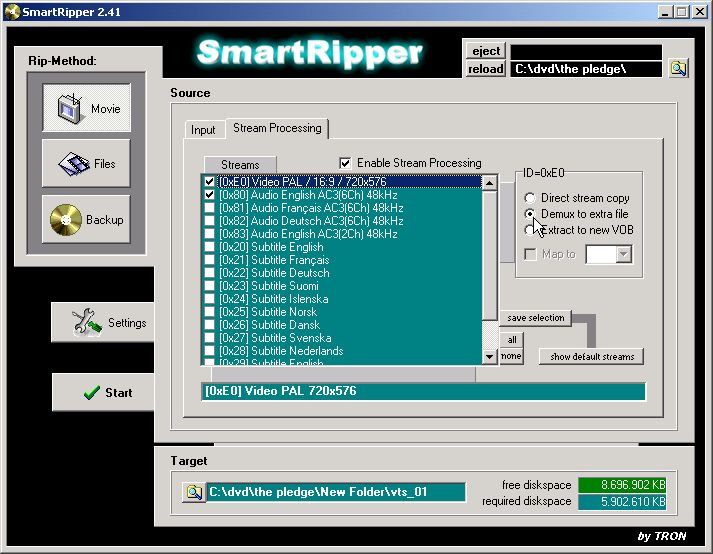
7) hightlight the audio file and click demux to extra file as in pic 8

sp10.jpg 

8) and again highlight the video file and click demux to extra file as in pic 9( must be done sperately)

sp11.jpg 

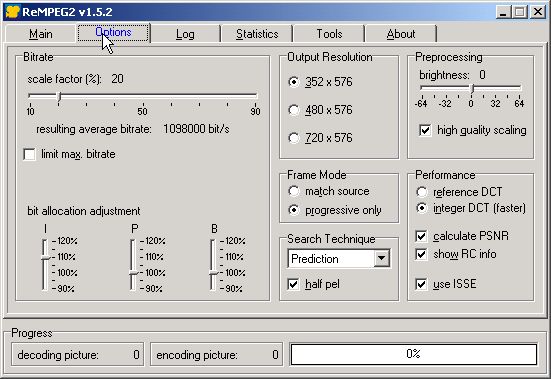
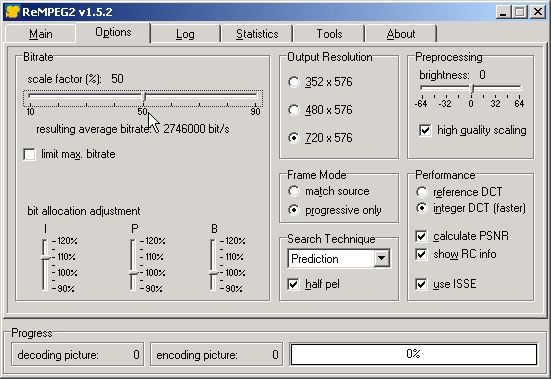
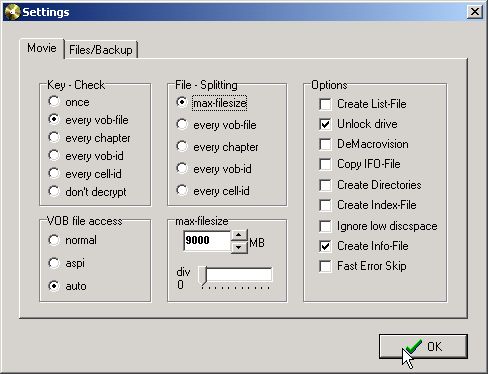
9) next click on the settings tab as in pic 10

sp12.jpg 

10) untick all in options but leave the two shown in pic 11

sp13.jpg 

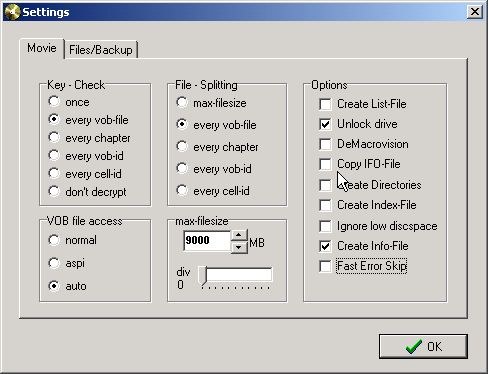
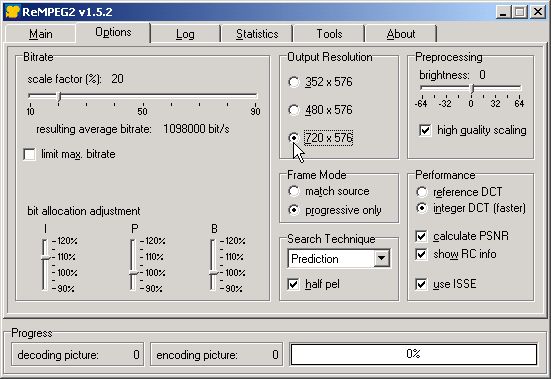
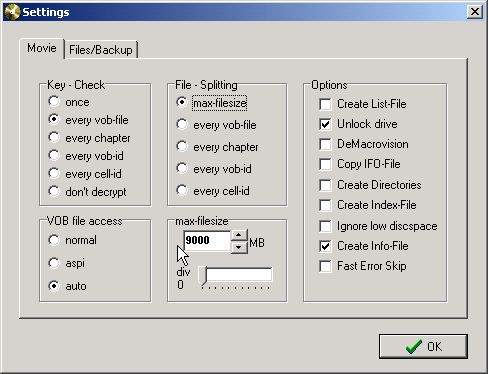
11) click max-filesize as in pic 12

sp14.jpg 

12) click every vob file as in pic 13

sp15.jpg 

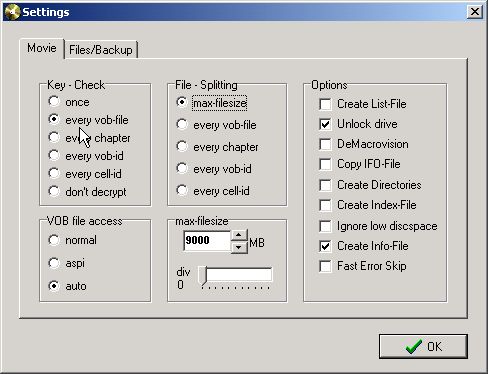
13) ensure the max-filesize is 9000 and click ok as in pic 14 & 15

sp16.jpg 

sp17.jpg 

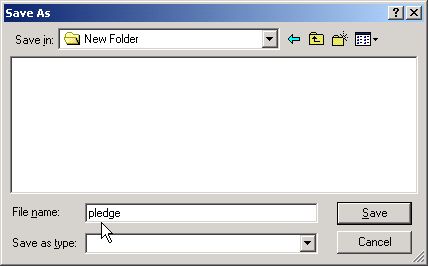
14) browse to the folder you want it to go and click save as in pic 16 & 17

sp18.jpg 

sp19.jpg 

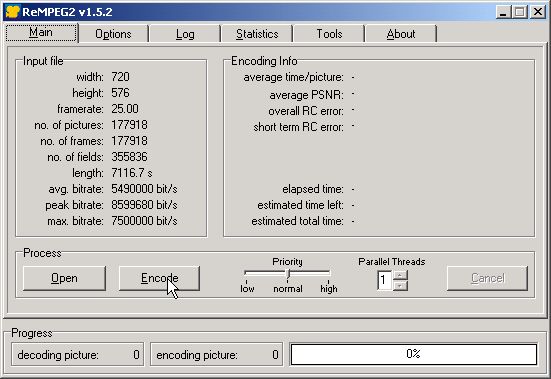
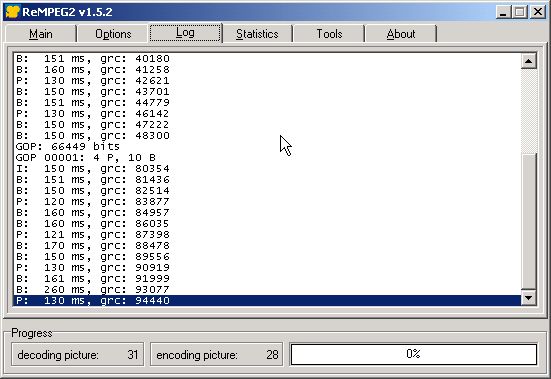
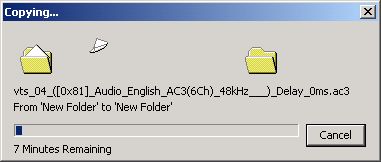
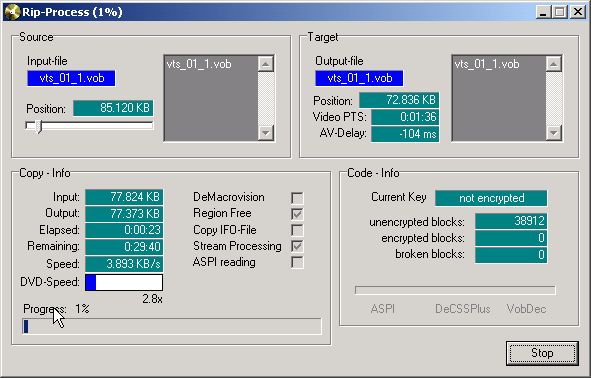
15) click start and the process will begin as in pic 18 & 19

sp20.jpg 

sp21.jpg 

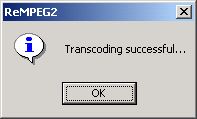
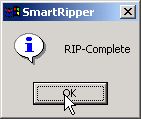
16) when complete in will tel you click ok as in pic 20

sp22.jpg 

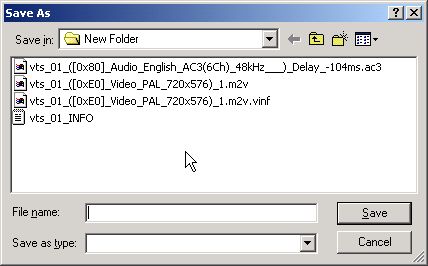
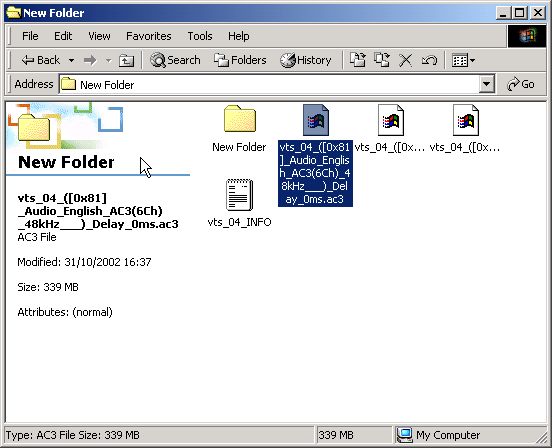
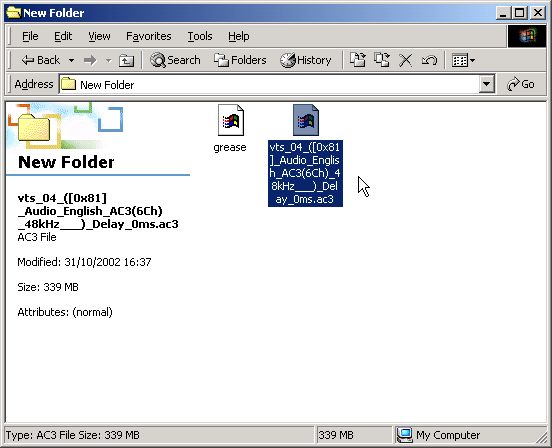
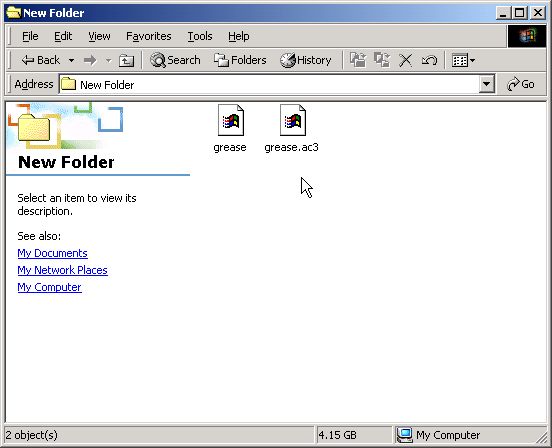
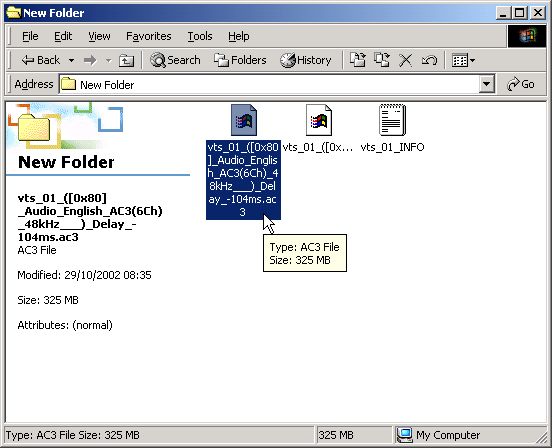
17) if you browse to the destination folder you should see the 3 files that should be made as in pic 21,22 & 23

sp23.jpg 

sp23a.jpg 

sp23b.jpg

first you need to find the verage bitrate before you can rempeg to do this you need to use a special calculater,use the link to use it

calculater

1) first change the type to DVD as in pic 24

1.jpg

2) change the audio bitrate to 384 as in pic 25

2.jpg

3) change DVD to 1 as in pic 26

3.jpg

4) change the time to how long the film is as in pic 27

4.jpg

5) remeber the calculated average bitrate as in pic 28 you will need it for the next part

5.jpg

Rempeg

1) next open up rempeg as in pic 29

rm1.jpg

2) go to the main tab as in pic 30

rm2.jpg

3) click open as in pic 31

rm3.jpg

4) browse to the folder you stream ripped to and highlight the .m2v file as in pic 32 and click open

rm4.jpg

5) it will open and start checking it frame by frame as in pic 33 & 34

rm5.jpg

rm6.jpg

6) it will let you know when done as in pic 35

rm7.jpg

7) click on the options tab as in pic 36

rm8.jpg

8) click on 720 x576 as in pic 37 (or the resolution for your country)

rm9.jpg

9) change the scale factor to the average bitrate you got from the calulater as in pic 38 (remember to add 000 on the number you got as this scale is in bits not kbits

rm10.jpg

10) click on the main tab again as in pic 39

rm11.jpg

11) click encode as in pic 40

rm12.jpg

12) it will ask to save as name the file and save as in pic 41 & 42

rm13.jpg

rm14.jpg

13) the process will begin to transcode as in pic 43

rm15.jpg

14) when complete the program will let you know as in pic 44

rm16.jpg

15) you now need to copy the .ac3 file you stripped to the dir where your rempeg file is as in pic 45 & 46

rm17.jpg

rm18.jpg

16) you now need to rename the ac3 file to the same as your rempeg file as in pic 47 & 48

rm19.jpg

rm20.jpg

spuce up

1) open up spruce up as in pic 49

su1.jpg

2) click on file>preferences you will be presented with the screen in pic 50

sua.jpg

3) click on pal or ntsc as in pic 51

sua.jpg

4) select none for simulator decoder as in pic 52

sub.jpg

5) and select dvd-r/rw 4.7GB as in pic 53 and click ok

suc.jpg

6) click on the movies tab as in pic 54

su2.jpg

7) right click then add media files and browse to the rempeg file and click open as in pic 55

su3.jpg

8) it will start importing the film as in pic 56 & 57

su4.jpg

su5.jpg

9) next drag the frame down to the bottom as in pic 58 & 59

su6.jpg

su7.jpg

10) then click on the number 3 to export the film as in pic 60

su8.jpg

11) next select disk image as in pic 61

su9.jpg

12) then browse to where you want the file saved and name it as in pic 62

su10.jpg

13) click write as in pic 63

su11.jpg

14) it will tell you the project needs to be saved click ok and save to the same folder as in pic 64 & 65

su12.jpg

su13.jpg

15) the process will begin as in pic 66

su14.jpg

16) it will let you know when the disc image is complete as in pic 67

su15.jpg

the film is now ready to write using the program primo dvd in the DVD writing section

HOME